Building an LMS (Learning Management System) website can be a game-changer for schools, businesses, or anyone looking to deliver structured online learning experiences. Whether you’re an educator, a business aiming to train employees, or an entrepreneur looking to share your knowledge through courses, understanding how to create an LMS website is crucial. In this comprehensive guide, we’ll walk you through every step—from defining your goals to launching a fully functional LMS website.
Why Creating an LMS Website is Important
Before diving into the “how,” it’s essential to understand the why. Online learning has exploded in popularity due to its flexibility, scalability, and accessibility. With an LMS website, you can create and manage courses, track progress, and deliver a seamless learning experience. It’s a powerful tool for schools, businesses, and individuals who wish to make education or training more effective and personalized.
An LMS website is more than just an online course platform—it’s an ecosystem that includes tools for learning, managing content, communicating, and analyzing user progress. Creating one involves careful planning, thoughtful design, and technical considerations to ensure that the platform meets the needs of its users while remaining functional, secure, and scalable.
Step 1: Define the Purpose and Target Audience
The first and most crucial step in creating an LMS website is defining its purpose. Who will be using your platform, and what are their needs? Are you building an LMS for a school or a corporate training program? Or maybe you are an entrepreneur offering online courses on a particular subject. Understanding your audience is key to building a website that aligns with their goals.
Determine Your LMS’s Purpose
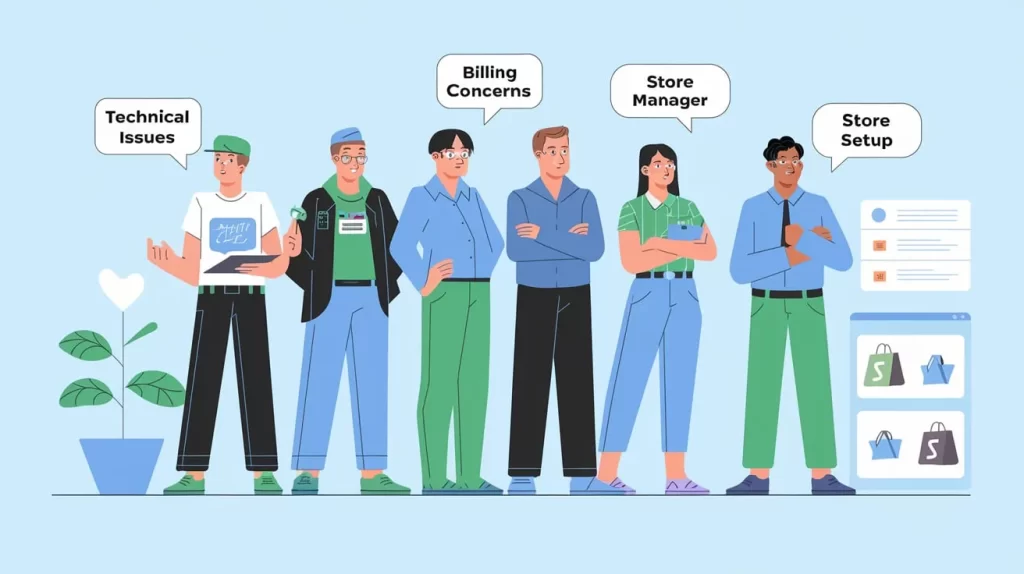
- For Schools: If you’re building an LMS for educational institutions, the platform should be designed to handle multiple courses, instructors, and student interactions. It should include features such as assignments, grade tracking, and communication tools.
- For Businesses: If your goal is corporate training, your LMS needs to handle employee training programs, skill development modules, certification management, and reporting features for HR departments.
- For Personal Courses: If you’re offering your own courses, the LMS should be straightforward with a clean design and user-friendly features for learners who might be less tech-savvy.
Understand Learner Needs
Knowing the needs of your learners is critical for deciding on the platform’s features. For example:
- Students might require interactive tools such as quizzes, forums, and the ability to track grades.
- Employees might need certifications and skill development courses to improve job performance.
- Independent learners may prefer a simple, streamlined user interface that makes it easy to purchase, enroll, and track their courses.
Suggested Posts:
Step 2: Choose the Right Platform
The next step in the process is choosing the right platform for your LMS website. There are two primary options to consider: self-hosted or cloud-hosted solutions. Each comes with its own set of advantages and challenges, so it’s important to choose one that fits your needs.
Self-Hosted vs. Hosted LMS Solutions
- Self-Hosted LMS: This involves installing the LMS on your own server or hosting provider. It offers more control, customization, and security, but also requires more technical knowledge and maintenance. Popular self-hosted LMS platforms include Moodle and Totara Learn.
Advantages:- Full control over customization
- No ongoing subscription costs
- More flexibility with integrations
- Disadvantages:
- Requires technical skills to manage hosting and updates
- Higher upfront costs for hosting and maintenance
- Hosted LMS: These are cloud-based platforms that are hosted by a third party. They are often easier to set up and require less technical maintenance. Platforms like Teachable and Thinkific are examples of hosted LMS solutions.
Advantages:- Easy to set up with minimal technical knowledge
- Scalable and secure
- Maintenance and updates are handled by the provider
- Disadvantages:
- Less control over customization
- Ongoing subscription fees
Popular LMS Platforms
- Moodle: One of the most popular open-source LMS platforms, Moodle is widely used in educational institutions and businesses.
- WordPress with LMS Plugins: If you’re already using WordPress, you can add LMS functionality by integrating plugins like LearnDash or LifterLMS.
- Teachable: A cloud-based platform popular among entrepreneurs and small businesses offering online courses.
- Thinkific: Another hosted LMS solution designed for course creators looking for an easy-to-use platform.
Suggested Posts:
- LMS Website SEO & Content Strategy
- Security & Privacy for LMS Websites
- LMS Website Maintenance & Updates
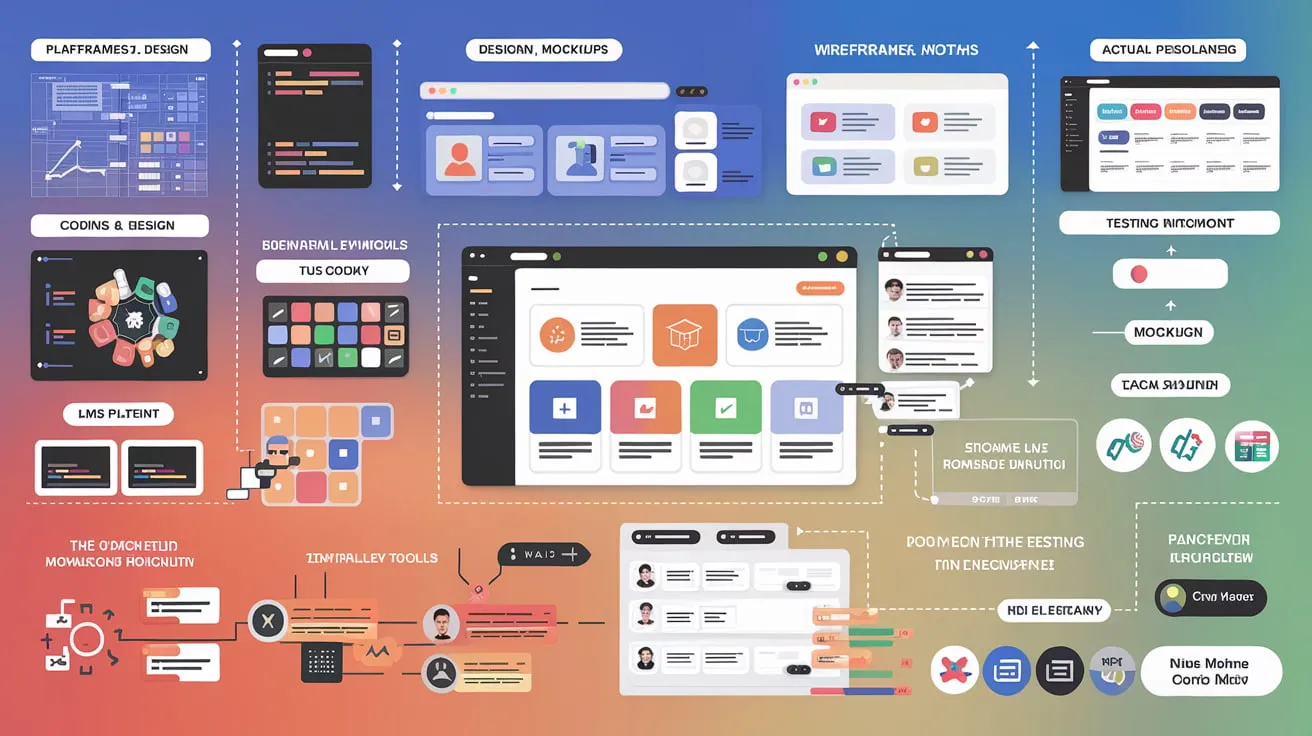
Step 3: Design and User Experience
The design and user experience (UX) of your LMS website will play a significant role in how learners interact with the content. An intuitive and user-friendly design encourages engagement and keeps learners coming back.
How to Create a User-Friendly Interface
- Clean Layout: Ensure that the layout is simple, easy to navigate, and visually appealing. Avoid clutter and ensure that learners can easily find courses, assignments, and support.
- Clear Navigation: Use intuitive menus and icons for easy access to important pages, such as course catalogs, dashboards, and settings.
- Interactive Elements: Integrate interactive elements like buttons, quizzes, and forums to encourage engagement. These features can enhance the learning experience and make it more dynamic.
Mobile Responsiveness and Accessibility
With more users accessing content from mobile devices, your LMS website must be mobile-responsive. This ensures that learners can access content on any device, whether it’s a desktop, tablet, or smartphone.
Additionally, make sure your website is accessible to everyone, including individuals with disabilities. Consider implementing features like screen reader compatibility, keyboard navigation, and color contrast adjustments to make your LMS platform inclusive.
Key Pages to Include
- Course Catalog: A well-organized list of available courses, with clear descriptions and enrollment options.
- User Dashboard: This is where learners can track their progress, view completed courses, and access new lessons.
- Login/Registration: A secure, easy-to-use registration and login system ensures that users can access the site and their courses without hassle.
Step 4: Add Essential LMS Features
An LMS website’s success depends on the features it offers. Here are some of the must-have features for any LMS platform:
Course Creation and Management
Your LMS should provide instructors with the ability to easily create, upload, and manage courses. This includes adding multimedia content (videos, images, etc.), creating assignments, and setting deadlines.
User Tracking and Progress Reporting
Progress tracking tools allow learners to see how they’re doing and encourage them to stay engaged. For administrators, this feature is invaluable for monitoring performance and identifying areas where learners may need additional support.
Quizzes, Assessments, and Certification
Incorporating quizzes and assessments not only allows you to test learners’ knowledge but also provides a means of certification once a course is completed. This is especially important for businesses and professional development programs.
Integration with Third-Party Tools
Integrating your LMS with tools like payment gateways (PayPal, Stripe) for course purchases, video hosting services (Vimeo, YouTube), and email marketing tools (Mailchimp) can enhance the functionality of your LMS and provide a better user experience.
Step 5: Security and Privacy Considerations
Security is a top priority when building an LMS website. You’ll be handling sensitive data such as personal details and financial information, so it’s essential to ensure that your platform is secure.
Data Protection
Ensure that your LMS complies with data protection regulations like GDPR for European users. Implement secure payment systems, encrypt data, and store user information safely.
User Authentication and Role Management
Managing user roles (admins, instructors, students) ensures that users have access to the appropriate content and tools. Implement multi-factor authentication (MFA) for added security and use encryption for sensitive data.
Step 6: Test and Launch Your LMS Website
Before launching your LMS website, it’s crucial to test everything. From course functionality to payment processing and mobile responsiveness, make sure all aspects of the site work seamlessly.
How to Test Functionality and Usability
- Functionality Testing: Test every feature of your LMS, including course creation, user registration, and progress tracking. Ensure that all links, forms, and buttons work as expected.
- Usability Testing: Have a group of real users test your site. Collect feedback on the design, navigation, and overall experience. This will help you identify areas for improvement before launching.
Pre-Launch Checklist
- Confirm that the site is mobile-friendly
- Check for broken links and content errors
- Test the payment system
- Set up email notifications for users (e.g., registration, course completion)
- Ensure that data security protocols are in place
Key Takeaways
Creating an LMS website involves several steps, from planning and selecting the right platform to ensuring a user-friendly design and adding essential features. By carefully considering the needs of your learners, choosing the right tools, and focusing on user experience and security, you can create a successful LMS website that provides value to both educators and learners.
- Define the purpose of your LMS and understand the needs of your target audience.
- Choose between self-hosted or hosted LMS solutions based on your technical requirements and budget.
- Focus on user experience by designing a simple, intuitive interface with mobile responsiveness and accessibility.
- Add essential features such as course management, progress tracking, and third-party integrations.
- Ensure your LMS is secure and compliant with data protection regulations.
- Test your website thoroughly before launch to ensure functionality and usability.
FAQs
What is an LMS website?
An LMS (Learning Management System) website is a platform used for delivering, managing, and tracking online courses or training programs. It can serve schools, businesses, or individual course creators.
How long does it take to create an LMS website?
The time it takes to build an LMS website depends on the complexity of the platform and the features required. A basic site can take a few weeks, while a more complex LMS can take several months.
What platform should I use to build an LMS website?
The best platform depends on your needs. If you need flexibility and control, consider self-hosted options like Moodle. For ease of use, platforms like Teachable or Thinkific may be more suitable.
Do I need coding knowledge to build an LMS website?
If you choose a self-hosted platform like Moodle, some coding knowledge may be necessary. However, hosted solutions like Teachable or Thinkific are more user-friendly and don’t require coding skills.
Is it expensive to build an LMS website?
The cost depends on factors like hosting, platform choice, and features. Self-hosted LMS solutions may have higher upfront costs, while hosted platforms usually have subscription fees.
How can I ensure my LMS website is secure?
To ensure security, implement SSL encryption, use secure payment gateways, comply with data protection laws, and regularly update the platform to patch security vulnerabilities.