Overview of What the WordPress Header Is and Its Importance
The header of your WordPress website plays a crucial role in the overall design and user experience. It is the first thing visitors encounter when they land on your site, and it’s where they typically find essential elements such as your logo, site title, tagline, and navigation menus. The WordPress header acts as both a visual focal point and a functional area that directs users to important pages on your website. Therefore, understanding how to effectively edit the WordPress header can significantly improve your website’s usability, appearance, and branding.
Whether you want to customize the logo, update the navigation menus, or adjust the overall layout to better suit your brand identity, the ability to tweak the WordPress header allows you to create a personalized and polished web experience for your audience. In this guide, we will walk you through the entire process, from understanding the structure of the header to customizing it with ease.
Step-by-Step Guide to Editing the Header
Editing your WordPress header can be a seamless process once you understand the structure of your site and know where to make changes. Below is a comprehensive step-by-step guide to help you customize your WordPress header with ease:
Related Posts
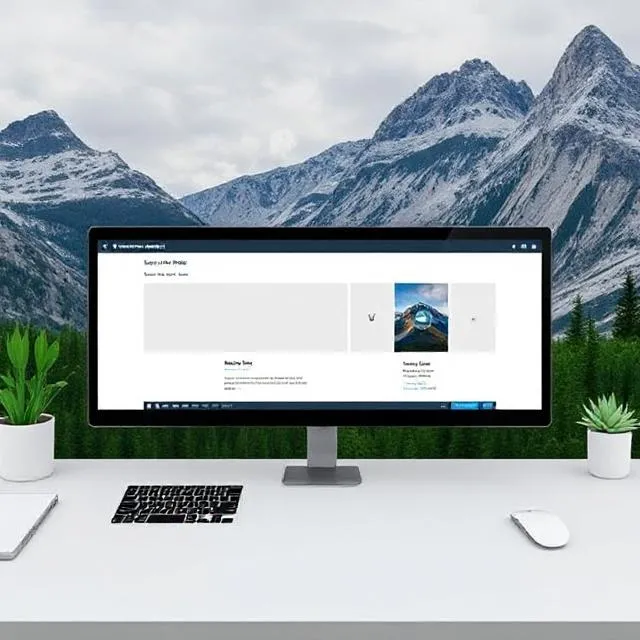
Accessing the Header in WordPress
Before making any changes to the header, it’s essential to locate it within your WordPress dashboard. Here’s how:
- Log into your WordPress dashboard: Begin by logging into your WordPress admin panel (yourwebsite.com/wp-admin).
- Navigate to the Customizer: To access header settings, go to Appearance > Customize. This will open the WordPress Customizer, where you can make changes to various aspects of your site, including the header.
- Locate the Header Section: Depending on your WordPress theme, the header settings may be under different sections, such as Header, Site Identity, or Theme Options. Click on the relevant option to access header customization settings.
Once inside the customization area, you will see several options for tweaking your site’s appearance, from logo placement to header layout.
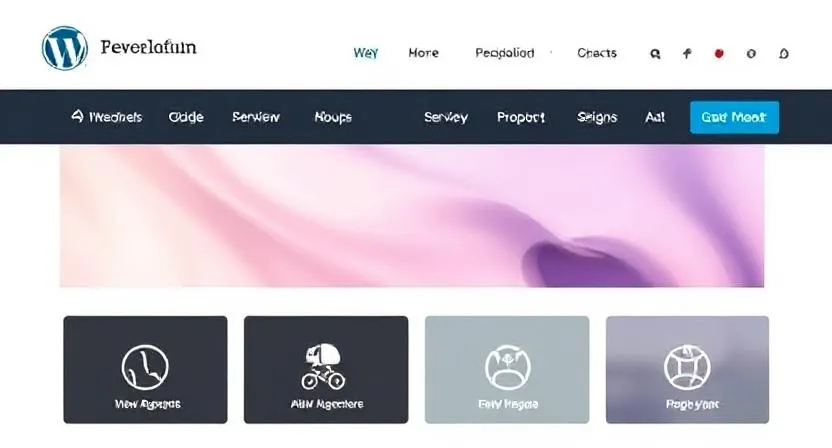
Customizing the Logo, Site Title, Tagline, and Navigation Menus
The WordPress header typically includes elements like your site’s logo, title, tagline, and navigation menu. Here’s how to adjust each one:
Customizing Your Logo
- Site Identity: If you’re looking to change the logo, go to the Site Identity section in the WordPress Customizer. Here, you can upload a new logo or modify the existing one.
- Upload a New Logo: Click Select Logo and choose an image file from your computer or media library. Ensure the logo is high-quality and appropriately sized for your header area.
Adjusting the Site Title and Tagline
- In the Site Identity section, you’ll also see options to customize your site title and tagline. The site title is typically the name of your website, while the tagline is a short phrase that describes your site’s purpose.
- Update these fields to reflect your brand accurately. You can also choose to hide the site title and tagline if you only want to display the logo.
Editing the Navigation Menus
- To edit your site’s navigation menu, go to Menus in the Customizer.
- Choose the Menu Location: Select the menu that will appear in your header (e.g., Primary Menu, Header Menu).
- Add/Edit Menu Items: Here, you can add, remove, or reorder menu items. To add a new page, click Add Items, select the desired page or category, and click Add to Menu. If you want to change the label of a menu item, simply click the down arrow next to it and edit the text.
Modifying the Header Layout and Structure Using Theme Options or Code
The header layout and structure will vary depending on your theme. Many themes offer built-in options that allow you to modify the header without touching code. These options might include:
- Changing the Header Layout: Some themes allow you to choose between different header layouts, such as centered logos, logos on the left, or even sticky headers.
- Adjusting Header Height: You might want to increase or decrease the height of your header to give it a more spacious feel or to fit your logo properly.
If your theme doesn’t offer extensive customization options, you may need to use custom code to modify the header further.
Using Custom Code to Modify the Header Layout
- Access Theme Files: Go to Appearance > Theme Editor to access your theme files. Locate the header.php file, where the code for your header is usually stored.
- Modify the HTML/CSS: You can add or modify the HTML structure in the header.php file or adjust the styling by editing the style.css file. For example, you can change the layout by modifying the CSS for your header elements, such as changing their positioning or size.
Be cautious when editing code, as incorrect modifications could break your site or cause errors. Always back up your site before making any changes.
Related Posts
- WordPress Troubleshooting Site Performance
- How to Edit WordPress Menu
- Custom WordPress Website Development
Adding Custom CSS to Adjust Header Appearance
If you want to make specific design changes that are not available through the Customizer, you can add custom CSS. Here’s how to do it:
- Go to Customizer > Additional CSS: This section allows you to enter custom CSS code that overrides the default styles of your theme.
- Write Your Custom CSS: For example, if you want to change the background color of your header, you can add the following code:
css
CopyEdit
.site-header {
background-color: #f5f5f5;
}
This code changes the background color of the header to a light gray. You can also modify fonts, margins, padding, and more to create a truly unique look for your site.
Common Issues and Troubleshooting
Even with the right guidance, sometimes problems arise when editing the WordPress header. Below are some common issues and solutions to help you troubleshoot:
Logo Not Appearing Correctly
- Issue: After uploading a logo, it might not display correctly in the header.
- Solution: Ensure that the logo’s dimensions are suitable for your theme’s header area. If it’s too large or small, it may not render properly. Resize the logo and re-upload it. You can also check your theme settings for logo-specific options.
Navigation Menu Not Aligning Properly
- Issue: The menu items might be misaligned or overlap with other header elements.
- Solution: Check the CSS for the menu items. Use the Custom CSS section to adjust margins, padding, or font sizes if necessary. Ensure that your theme’s layout supports the size of your menu.
Header Layout Problems
- Issue: The header layout might look out of place, especially when using custom themes or third-party plugins.
- Solution: Revisit your theme’s header settings in the Customizer. If the issue persists, try clearing your browser cache, or use custom CSS to fine-tune the layout.
Mobile Responsiveness Issues
- Issue: The header might not look good on mobile devices.
- Solution: Use media queries in custom CSS to adjust the header’s appearance on smaller screens. For example:
css
CopyEdit
@media only screen and (max-width: 768px) {
.site-header {
padding: 10px;
}
}
This will reduce the padding in the header on mobile devices, improving responsiveness.
Importance of the Header in User Experience and Design
The WordPress header is not just a functional area; it’s a critical component that shapes the first impression users have of your website. By customizing your header—whether it’s adjusting the logo, navigation menus, layout, or adding custom CSS—you ensure that your website is both visually appealing and user-friendly. A well-designed header contributes to a positive user experience, guiding visitors through your site and helping them find what they need with ease.
Whether you’re making small tweaks or doing a complete overhaul, understanding how to edit the WordPress header allows you to have greater control over your site’s branding and usability. Investing time in perfecting your header will ultimately benefit both your visitors and your business goals.
Frequently Asked Questions
Can I change the WordPress header without coding?
Yes, many WordPress themes offer built-in options in the Customizer that allow you to edit the header’s logo, navigation menu, and layout without needing to write any code.
How do I change the font in my WordPress header?
You can change the font of your WordPress header by either selecting a different font in the Customizer or adding custom CSS to modify the font family of header elements.
What if my logo looks too big or too small in the header?
If your logo isn’t displaying properly, ensure it’s the correct size for your theme’s header area. You may need to adjust the dimensions or use CSS to resize it.
Why isn’t my WordPress header appearing correctly on mobile?
This could be due to mobile responsiveness issues. Check your theme settings for mobile-specific options or use custom CSS to adjust the header’s layout for smaller screens.
Key Takeaways
Customizing the WordPress header is a powerful way to make your website stand out and improve the overall user experience. Whether you want to tweak the layout, modify the logo, or change the navigation menu, understanding how to edit the header can transform the way visitors interact with your site. With a little effort, you can create a more personalized and professional-looking website that resonates with your audience.
- The WordPress header is essential for branding, navigation, and first impressions.
- Customizing the header involves adjusting the logo, navigation menus, and layout.
- Custom CSS offers flexibility for design changes not available in the Customizer.
- Troubleshooting common issues, such as logo size and mobile responsiveness, ensures a polished user experience.