Why the Navigation Menu is Essential for Site Usability
The navigation menu of a WordPress website is one of the most crucial elements in ensuring that users can find what they need quickly and easily. It acts as a roadmap for visitors, guiding them to different pages, posts, categories, and other sections of your website. A well-organized and intuitive menu can significantly enhance the user experience (UX) and improve the usability of your site.
If your menu is cluttered, difficult to understand, or hard to navigate, visitors may leave your site in frustration. Conversely, a clean, well-organized navigation menu helps users find what they’re looking for quickly, enhancing both engagement and conversions. Whether you’re a blogger, business owner, or eCommerce store manager, learning how to edit your WordPress menu is a valuable skill. We’ll walk you through a step-by-step guide on how to edit WordPress menus, from simple changes like adding/removing menu items to more advanced customizations such as adding custom CSS or using plugins for mega menus. Let’s dive into the process of making your WordPress navigation menu as user-friendly and efficient as possible.

Step-by-Step Guide to Editing WordPress Menus
Editing and customizing your WordPress menu is an easy yet powerful way to enhance your site’s structure and usability. WordPress makes the menu management process straightforward with its built-in menu editor. Here’s how you can edit the WordPress menu in a few simple steps.
Accessing the Menu Editor
To begin editing your WordPress menu, you need to access the Menu Editor in the WordPress dashboard.
- Login to Your WordPress Dashboard: Start by logging into your WordPress admin panel.
- Navigate to Appearance > Menus: On the left-hand side of the dashboard, hover over Appearance and click on Menus. This will open the Menu Editor.
- Select a Menu to Edit: If your theme has multiple menus (such as a primary menu, footer menu, etc.), choose the one you want to modify. You can do this by selecting the menu from the dropdown at the top of the page.
Adding/Removing Menu Items (Pages, Categories, Custom Links)
One of the most common tasks when editing a WordPress menu is adding or removing items like pages, categories, or custom links. Here’s how you can manage these items effectively:
Adding Pages to Your Menu
- Select Pages to Add: On the left side of the Menu Editor, you’ll see a list of your site’s pages under the Pages section. To add a page to your menu, simply check the box next to the page you want to include.
- Click Add to Menu: After selecting the pages, click the Add to Menu button. The page will now appear on your menu structure.
Adding Categories to Your Menu
- Select Categories: In the same Menu Editor screen, you’ll find the Categories section. Here, you can select categories from your site’s taxonomy.
- Add to Menu: Once you select the desired categories, click Add to Menu to include them in your WordPress menu.
Adding Custom Links (External URLs)
- Enter Custom URL: To add a custom link to an external site (like a social media profile or a partner website), go to the Custom Links section in the Menu Editor.
- Fill in the Details: In the URL field, input the full URL (e.g., https://www.example.com), and provide the Link Text that will be visible on your menu.
- Click Add to Menu: Once you’ve filled in the custom link details, click the Add to Menu button.
Removing Menu Items
To remove a menu item, simply click the down arrow next to the item in the menu structure. This will expand the menu item’s settings. Then click Remove to delete the item from your menu.
Organizing the Menu Structure (Nested Items)
A clean and logical menu structure enhances user experience by making your content easy to navigate. You can organize your menu by creating nested menu items (sub-menu items).
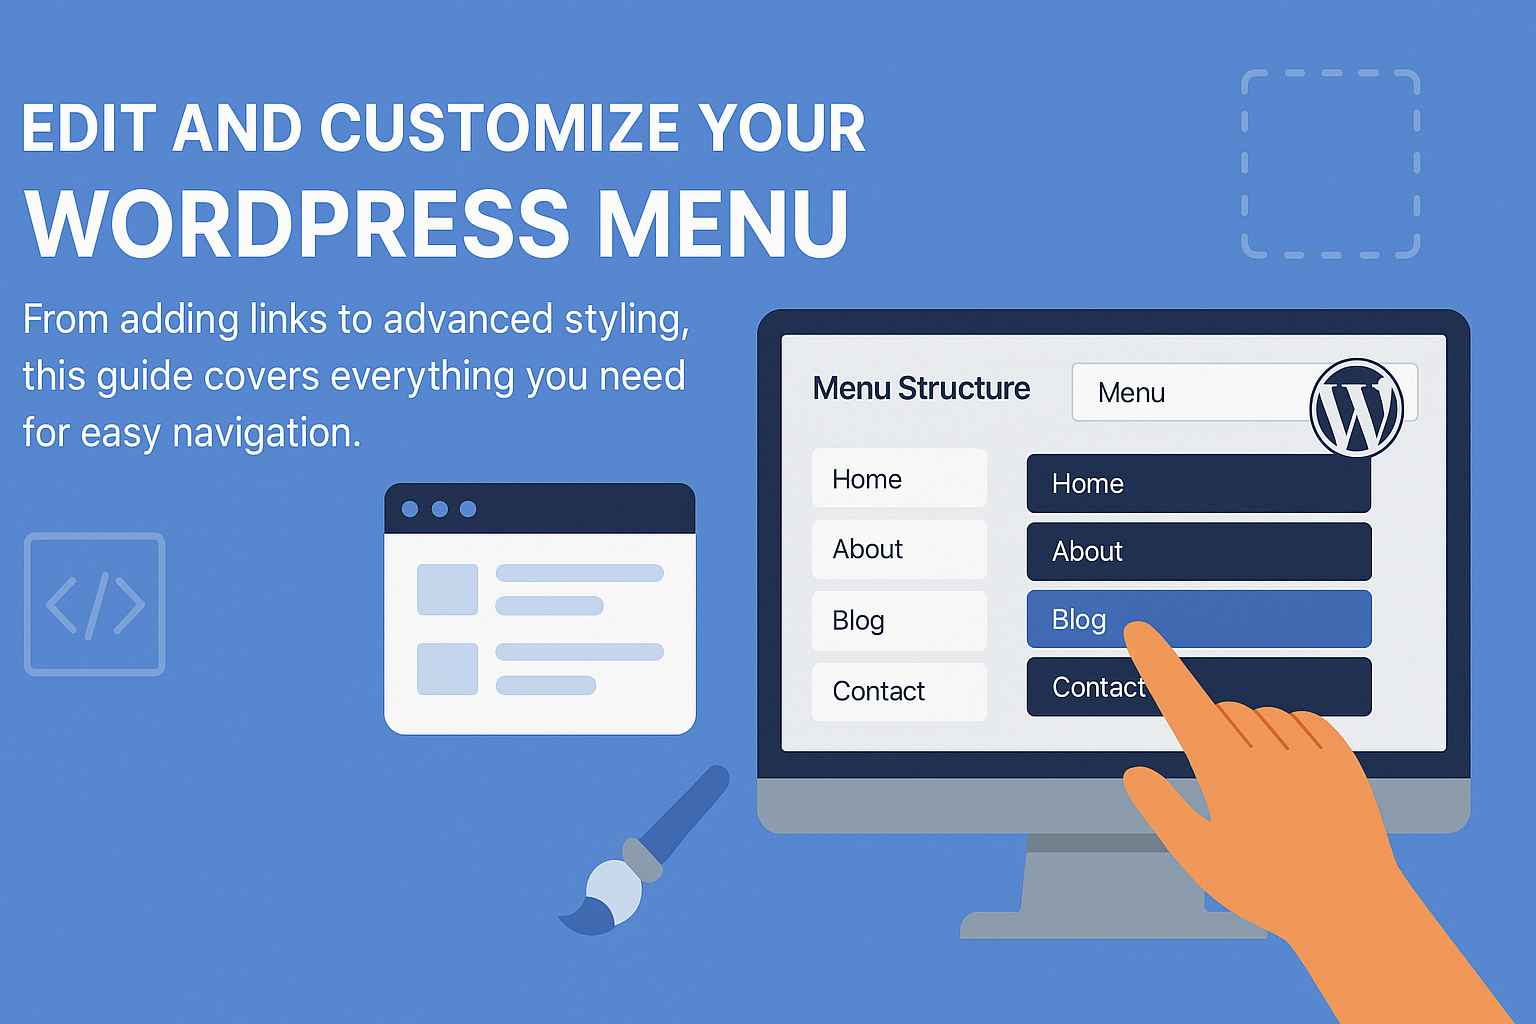
- Drag and Drop: To create a sub-menu, simply drag a menu item slightly to the right under the parent item. This creates a dropdown menu where the nested item appears only when the user hovers over the parent item.
- Adjust the Order: You can adjust the order of the menu items by dragging them up or down in the list. This allows you to prioritize the most important pages or sections of your website.
Using Custom Links and External URLs in Menus
Adding custom links to your WordPress menu allows you to link to external sites, internal pages, or even anchor points within the same page.
- Add a Custom Link: As previously mentioned, you can add a Custom Link in the Custom Links section of the Menu Editor. Enter the URL and Link Text, then click Add to Menu.
- Linking to Internal Pages: If you want to link to an internal page, simply select the Pages section on the left, and pick the pages you want to link to. These links will be added to your WordPress menu, just like external links.

Advanced Menu Customization
Once you’re comfortable with the basics of editing WordPress menus, you can take things a step further with advanced customization. These customizations allow you to create more dynamic and visually appealing navigation menus.
Adding Custom CSS to WordPress Menus
Customizing the look and feel of your WordPress menu can make a significant impact on the overall user experience. You can easily style your menu using custom CSS.
- Go to the Customizer: Navigate to Appearance > Customize in your WordPress dashboard.
- Access Additional CSS: In the Customizer, click on Additional CSS and add your CSS code to modify the menu’s font, colors, hover effects, spacing, etc.
- Save Changes: After entering your custom CSS code, click Publish to save the changes.
For example, you could add a simple CSS rule to change the color of the menu items on hover:
css
CopyEdit
.main-navigation ul li a:hover {
color: #ff0000;
}
Using Plugins for Mega Menus
For websites with a large amount of content or complex navigation structures, you may want to implement a mega menu. A mega menu displays multiple columns of links in a single dropdown, helping users navigate through large sections of the site quickly.
Plugins like Max Mega Menu and WP Mega Menu provide an easy way to create a mega menu without needing to write code. These plugins offer extensive customization options, such as:
- Drag-and-drop interface for arranging items
- Multiple column layouts
- Icons, images, and custom styles for menu items
Simply install the plugin, configure the settings, and customize your mega menu as needed.
How to Ensure Your WordPress Menu is User-Friendly and Easy to Navigate
A well-structured and properly edited WordPress menu is vital to your website’s usability. By following the step-by-step guide outlined above, you can easily create and manage your navigation menu, from adding pages and categories to using custom links and advanced features like custom CSS and mega menus.
Remember that simplicity and clarity are key. Keep your menu organized, avoid overwhelming your visitors with too many options, and ensure it is easy to navigate. Testing your menu on different devices is also essential to ensure that it works seamlessly across desktop, tablet, and mobile views.
By paying attention to these details, you can create a user-friendly navigation experience that improves engagement and enhances the overall user experience (UX) of your WordPress website.
Frequently Asked Questions
How do I access the WordPress menu editor?
To access the WordPress menu editor, go to your WordPress dashboard, then navigate to Appearance > Menus. From here, you can edit your site’s menus.
Can I add a custom link to my WordPress menu?
Yes, you can add a custom link to your WordPress menu by selecting Custom Links in the Menu Editor and entering the URL and link text.
What are nested menu items?
Nested menu items are sub-items that appear under a parent menu item in a dropdown format. You can create them by dragging a menu item to the right under a parent item in the Menu Editor.
How do I create a mega menu in WordPress?
You can create a mega menu by using plugins such as Max Mega Menu or WP Mega Menu. These plugins allow you to design and implement complex menus with multiple columns and other advanced features.
Key Takeaways
- Editing WordPress menus is an essential skill for managing your website’s navigation and improving usability.
- The Menu Editor allows you to easily add pages, categories, and custom links to your menu.
- Advanced customization options like custom CSS and mega menus can elevate the design and functionality of your navigation.
A well-organized and user-friendly menu enhances user experience and helps visitors find content quickly.
